

Digitizing the Wurlitzer 4100 Service Manual
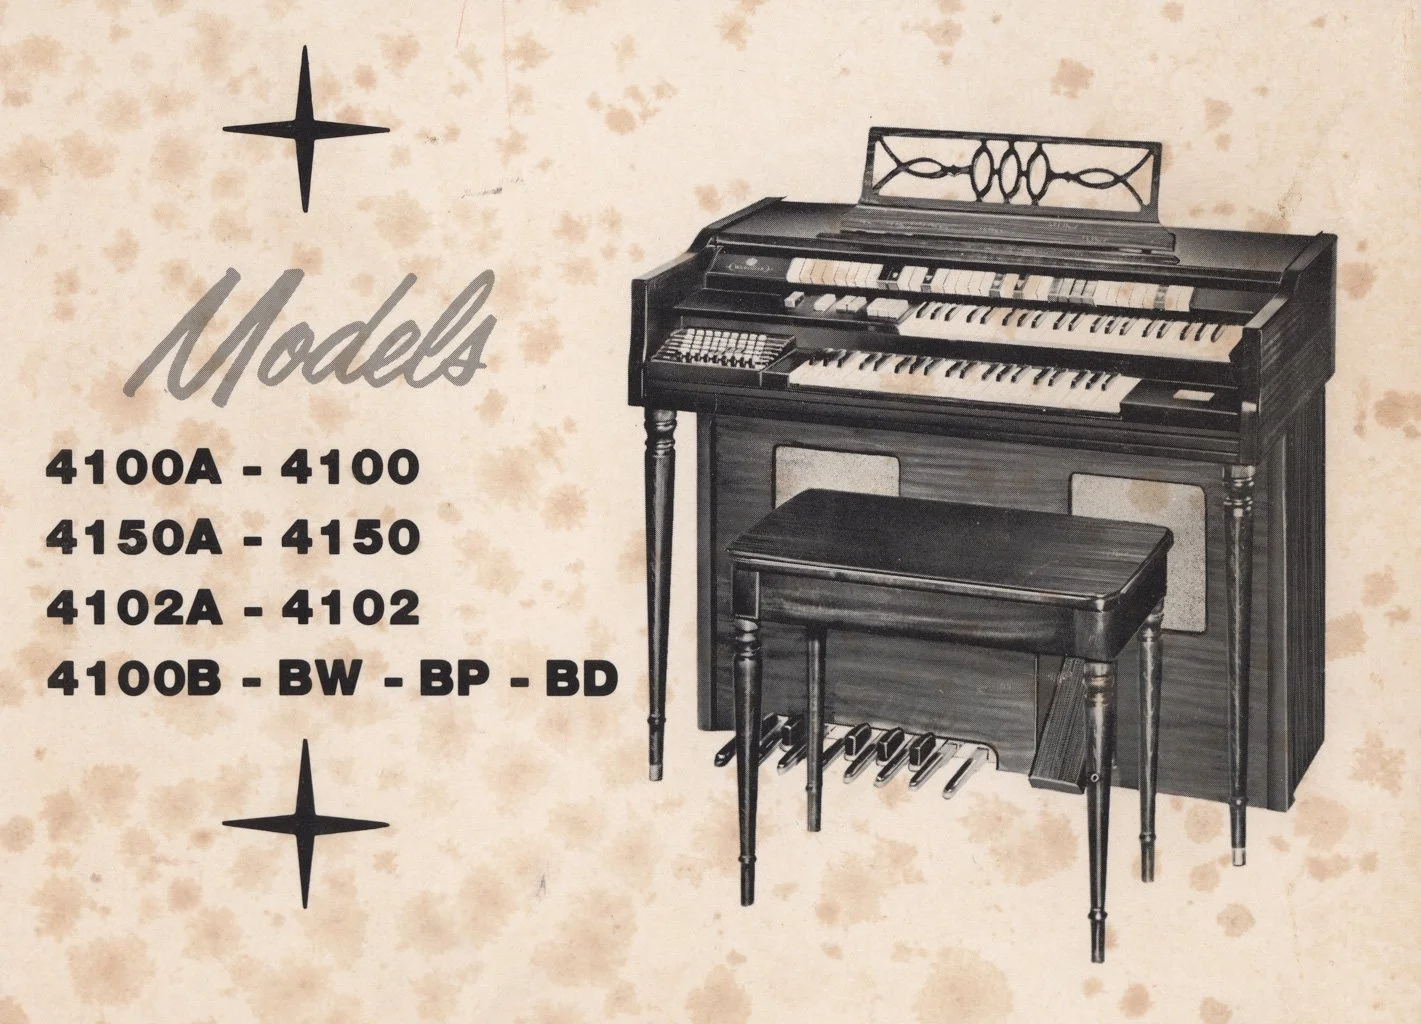
The 4100 service manual covers the Wurlitzer 4100, 4102, and 4150 organs, as well as their letter-suffix variants like the 4100A, 4100BD, etc. These are all compact organs with two 44 note manuals, 13 bass pedals, and vacuum tube tone generators.
It is not completely clear what all of the variant suffixes indicate. The manual explains that the A suffix represents a revision in amplifier layout and tube orientation. We also generally know the basic model differences:
The 4100 appears to be the base model for the general user.
The 4102 designates a church organ. Church organ cabinets are slightly different and often include a lockable sliding key cover. They may also have a small amount of additional stop tablets.
The 4150 includes chord buttons mounted in the lower left cheek block. These controls were an add-on that could be installed on any 4100-series organ.
About the original document
The original manual was found on the floor of Morelock's Organ Service. Our observations suggest that Morelock's had originally been extremely well-organized. But as more people came to browse the warehouse, things became dislocated and some papers ended up on the floor. The office (where Morelock's papers were kept) was the point of ingress and egress into the warehouse area, so once things fell onto the floor their condition deteriorated quickly as they became kicked and stepped on by visitors to the building.
Like most of the service manuals we obtained at Morelock's warehouse, the 4100 service manual was bound with two staples. The end pages had started to work themselves free of the staples and were becoming scattered across the floor due to the foot traffic in the building. Although we recovered everything that was on the floor, we did not have time to catalog individual floor papers or piece together fragmented records. We packed them in multiple boxes and made a note of the contents.
So, there are two parts to this service manual:
A bound portion consisting of pages 1–96
The remaining pages, which had been dispersed among dozens of papers on the floor of the warehouse
Contents of the bound portion of the manual
The bound portion of the manual consists of page 1 (Cover Page) through page 96 (Manufacturer's Warranty). On reading the Table of Contents, we realized that there were supposed to be several sections after the warranty page, numbering at least until page 110.
The staples binding the service manual were still fairly tight, so that the pages would have required a little bit of force to fall off. If the manual had not been on the floor, it probably would have remained complete.
It was very common for Wurlitzer service manuals to be bound with one or two staples, so we have no reason to believe that the binding is not original. However, the page count of the bound portion does not match the page count in the Table of Contents. The Table of Contents counts the cover page as page 1, and the Manufacturer's Warranty as page 96. However, the actual number of pages in the bound section is 77 pages.
The pagination of this service manual is extremely ambiguous because none of the schematics or diagrams are printed on numbered pages. Only text-based pages, such as the circuit descriptions, have page numbers. So, for instance, the Table of Contents indicates that the Amplifier and Power Supply Description is on page 5, and that Amplifier Schematics Issues 1, 2, 3, 4, 5, and 6 should occupy pages 6–16. The pages following the Power Supply Description do include Amplifier Schematics Issues 1, 2, 3, 4, 5 and 6—plus two Spectra-Tone schematics—but these pages do not add up to 10 pages of schematics, regardless of how they are counted.
So, it is possible that all pages between the Cover Page and the Manufacturer's Warranty are present. They just don't match the pagination of the manual.
Fragments we’ve found
The fact that the schematics and diagrams are not paginated makes it extremely difficult to reconstruct the fragmented end pages of the manual. We have included all pages that seem to be likely candidates. These include:
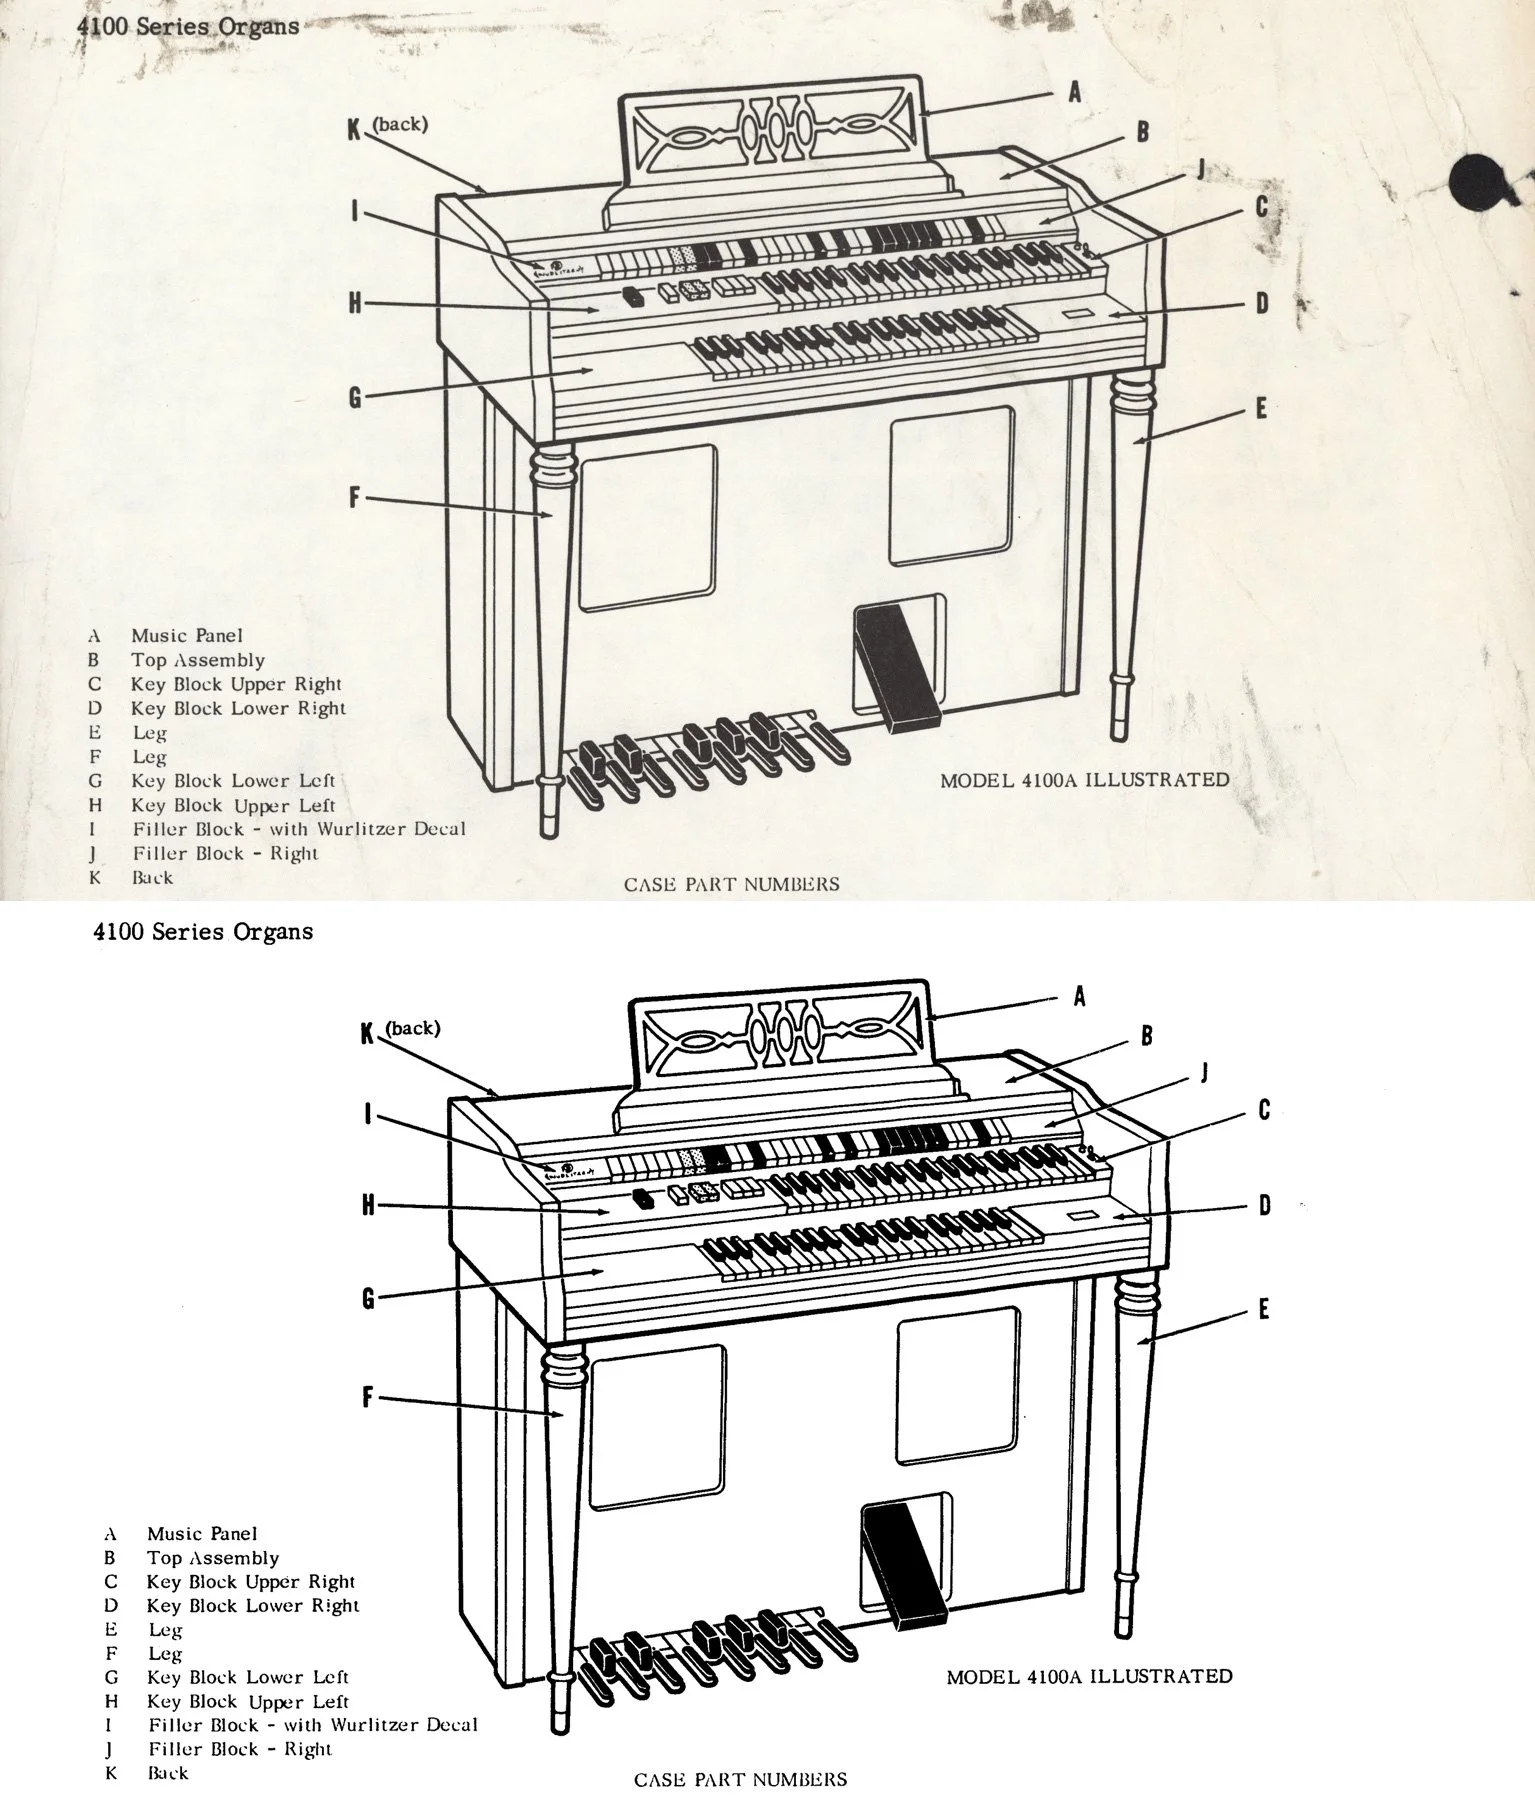
Generator Unit/Case Part Numbers. These are opposite sides of the same sheet, and are numbered as pages 99 and 100. The content and the numbering seem to clearly indicate that it belongs to what the Table of Contents refers to as the Parts Section. However, the previous sheet (pages 97/98) is currently missing.
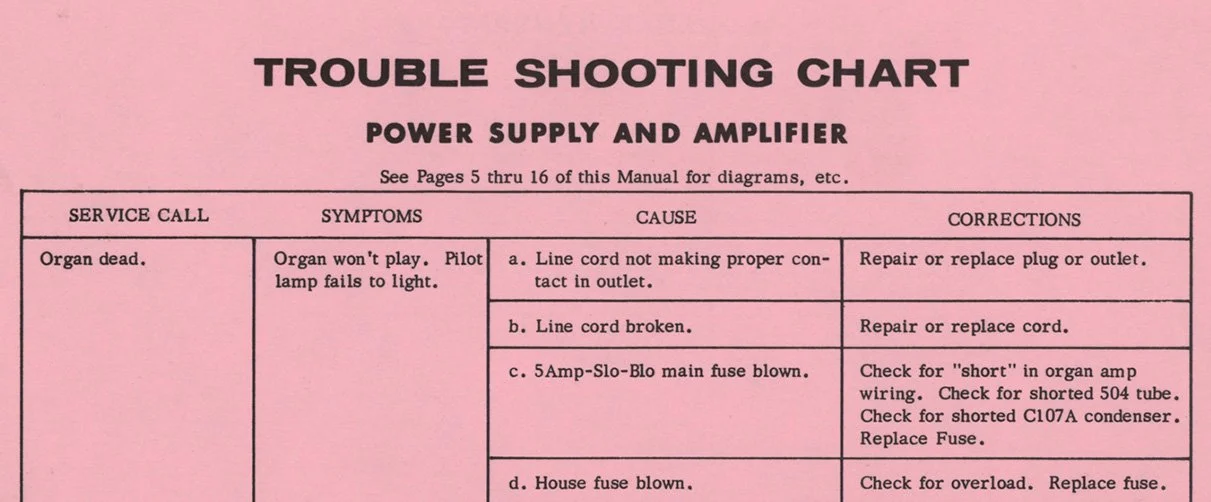
Trouble Shooting Chart. This is composed of two sheets that are numbered as pages 101–104. Unfortunately, the Table of Contents lists the Trouble Shooting Chart section as occupying pages 101–105, so it appears that the final page of the chart is missing. Due to Wurlitzer's idiosyncratic page numbering, it is possible that page 105 simply doesn't exist. However, these are numbered text-based pages, which seem to have been more faithfully labeled than the schematic pages, so it is more likely that the chart originally contained all five pages. This is a very useful section so we will continue to look for the fifth page.
Reverb schematic. According to the Table of Contents, we should expect one or two pages entitled Reverb Unit. Although the subject matter of the page is as expected, the formatting of the page doesn't exactly match the rest of the manual. So, it is unclear whether this page is correct.
The Table of Contents lists "Repeat Percussion Schematic" as the next page, which is absent.
Rhythm Unit Ssh-Boom. The title of this schematic matches the listing for page 110 in the Table of Contents, so the subject matter is as expected. The formatting also matches the other schematics. However, the reverse side of this sheet is another schematic, P.S.M. for models 4100BP and 4100BD. This schematic is not listed in the table of contents, and its date of November 30, 1964 is later than all of the other schematics in the manual. It is possible that this sheet was produced later, and is not exactly what would have been found in this particular printing of the service manual.
Before digitizing this manual, we looked through our boxes containing floor pages and service documents in an attempt to find all of the scattered pages. It is possible that we overlooked a page, or some of the pages may have ended up filed elsewhere. We will amend the manual if we find any additional pages that appear to have been original to it.
About the digitization process
Before digitizing, we removed the two staples from the bound portion of the manual. Next, we scanned every page as an 800 dpi TIF file, leaving a margin around the edges. The margin allows us to capture the edges of the page, so that our scans can represent the physical document to the greatet extent possible. We save these files as our master copies.
Next, we straighten the pages and crop the margins. In the case of a service manual, we create two reference copies from the cropped file. The first reference copy is a facsimilie version for on-screen viewing. This copy is intended to reproduce both the content of the sheet and its physical appearance. The second copy is optimized for printing. This printable copy prioritizes the information on the sheet over its original appearance. However, we do not compress the page to the point that image quality is visibly deteriorated, because we consider the image to contain useful information.
The facsimile copy is easy to produce, because it is simply the cropped version reduced in size. It is possible to quickly resize batches of images in Adobe Lightroom. For 8.5x11" sheets, the file is reduced to 2000 pixels on the long edge. For 11x17" sheets, it is reduced to 2700 pixels on the long edge.
The printable copy requires more complicated processing. Here, we weigh multiple considerations, some of which are contradictory.
Because we would like all of the pages to occupy a single PDF, the file size of each page must be kept to a minimum. Our current web host requires PDFs to be smaller than 20 MB, so our file requirements are fairly restrictive.
To optimize printability, we would like each page to have a white background. Text should be as close to black as possible. Black and white images should be rendered in grayscale.
Although black and white images may be converted to grayscale, they should retain all of the detail that is present in the original page.
Physical defects in the page should be removed whenever the defect compromises readability.
Reading the manual should be an immersive experience, like reading any other document. Pages should be legible and processing should be consistent for all similar pages.
Tonal adjustments
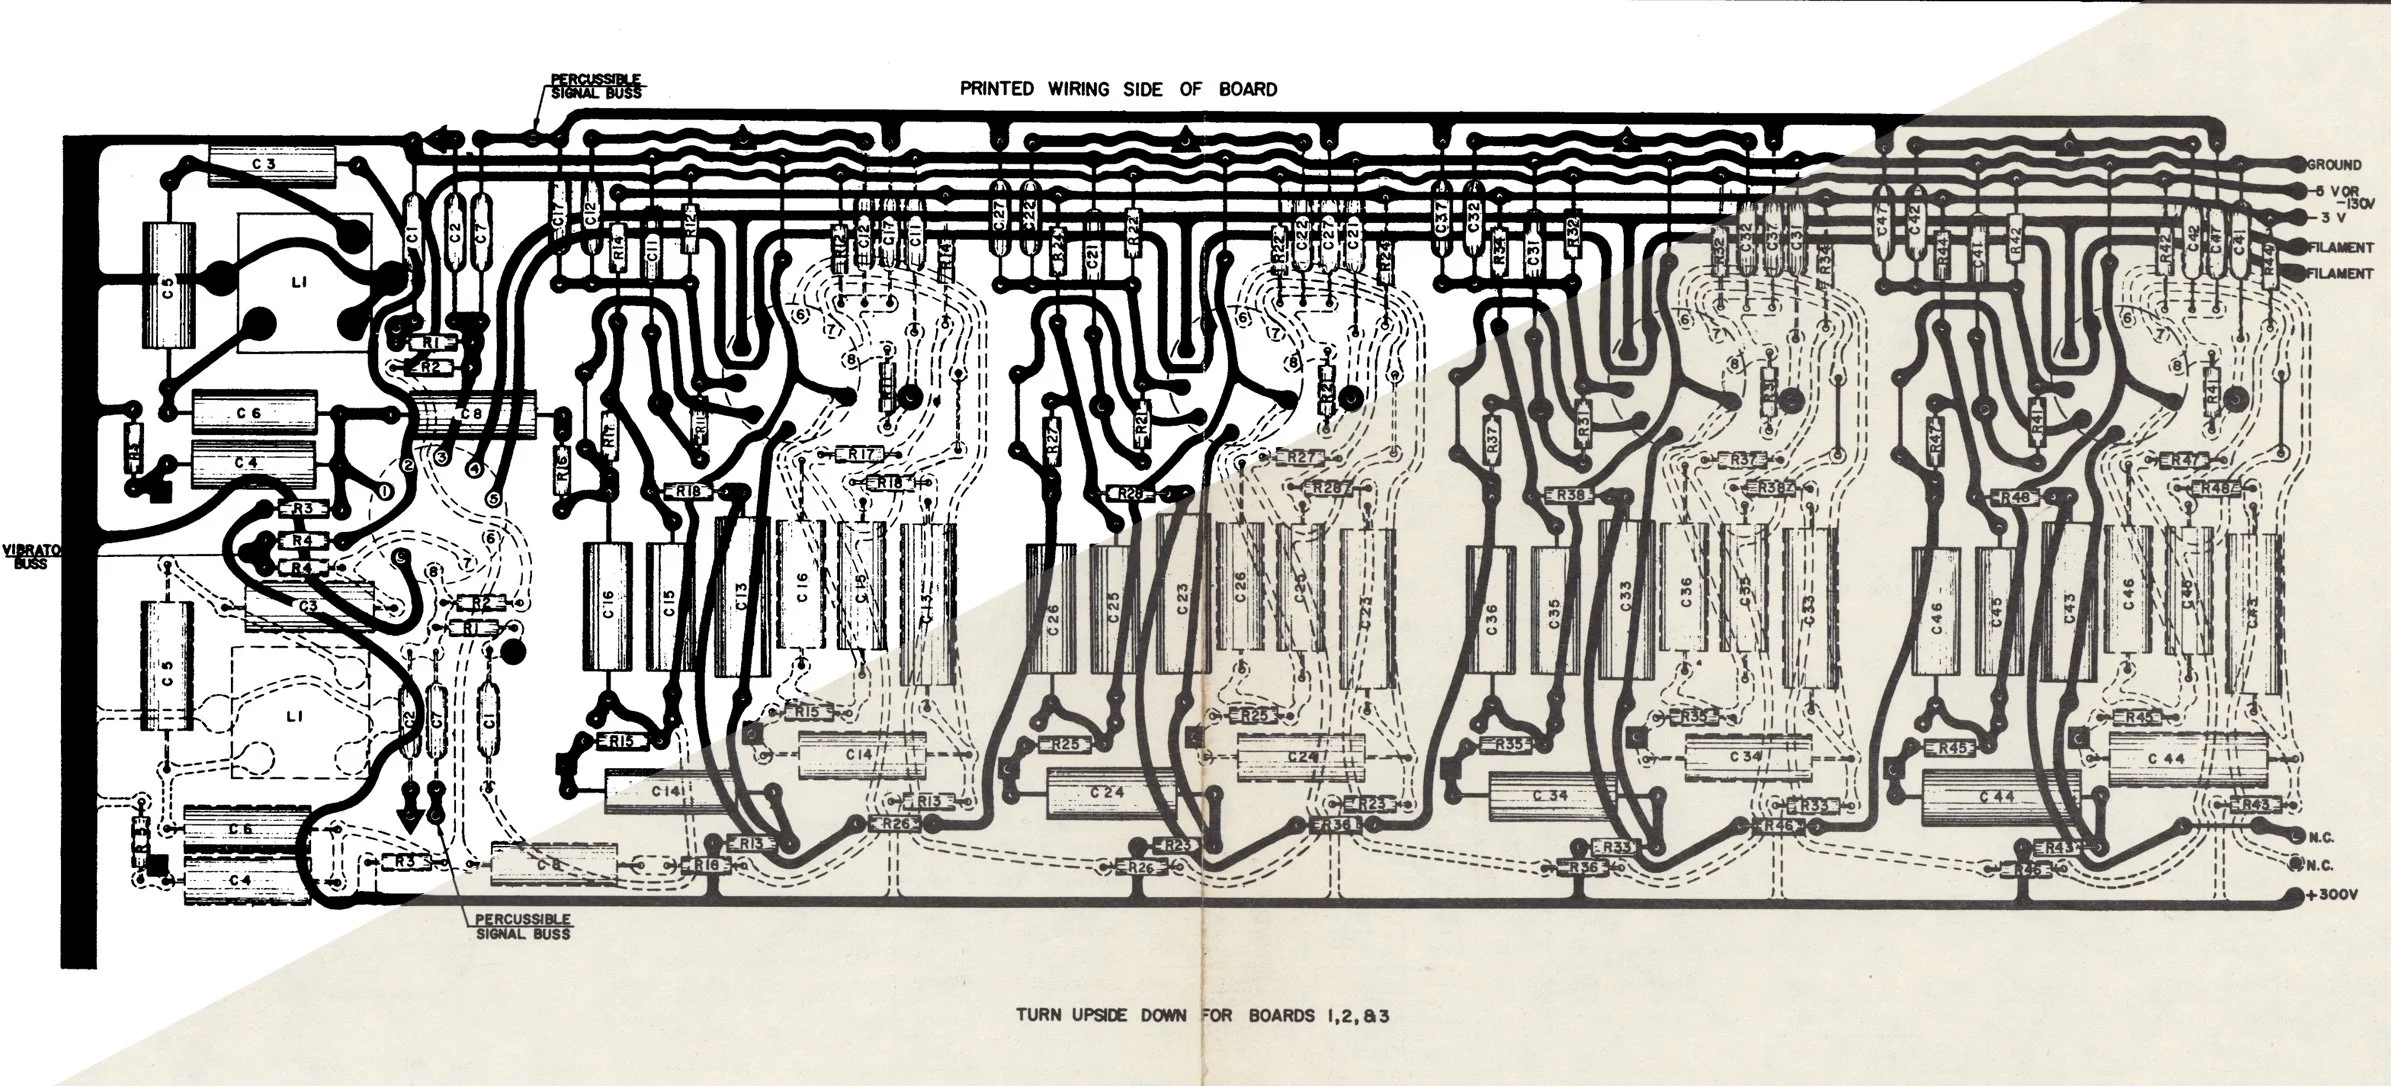
First, we normalized the background color of each page by applying a white-point adjustment in Photoshop. This strips the original sepia color and converts it to pure white. Although this step can be automated, doing it manually allows us to fine-tune the result. Over-adjusting guarantees a perfectly white background, but it diminishes the quality of the text and makes the page less legible.
During this step, we edited out the three hole punchings at the side of every page, and ensured that the edge of the page was not visible. By removing these large areas of black pixels, we made the print more economical without reducing the information content of the page.
Conversion to grayscale and bitmap
After making tonal adjustments and removing hole punchings and physical defects (discussed below), we converted each page to grayscale. All photographs in the manual were black and white, although they had sepia tone which could be attributed (at least in part) to age-related discoloration. Converting to grayscale eliminated this sepia tone, which arguably restores some clarity, since the viewer no longer has to interpret the color of the images and can instead focus on what they depict.
For pages that only contained text or line drawings, we converted them to 1-bit bilevel images using the 50% threshold setting. This turns all pixels lighter than 50% gray to white, and pixels darker than 50% gray to black. Because there are only two colors in the image, the file size is very small.
Finally, each page was saved as a ZIP-compressed TIFF file (our best option when saving in Photoshop). This format uses lossless ZIP compression to create a very high-quality image file with a very small file size.
Image adjustments
We did not make any tonal adjustments to images (other than converting them to grayscale). Because white-point adjustments increase the contrast of images, we created a layer mask in Photoshop so that our adjustments would affect the page and the text without affecting any of the images. The images in this service manual had very high contrast to begin with, and did not contain as much tonal range as images found in some of the other manuals. The lack of definition seems to be a consequence of the reproduction process that Wurlitzer used when producing the manual.
We felt that our scan reproduced the images faithfully, and we decided to avoid any further digital processing in order to preserve as much of the images' remaining detail as possible. However, retaining the original appearance of the photographs increased the file size of pages with images, because we could not take the final step of converting them to bitmap. The 8.5x11" pages that were converted entirely to black and white were generally between 70–300 KB in size, but pages containing grayscale images were between 5–10 MB.
Physical defects
Physical defects include:
Stains, foxing, and minor age-related deterioration attributable to many decades of use and storage
Creasing, scuff marks, and crush damage from being stepped on
Fold lines in the 11x17" foldout pages
In general, all of these defects created dark spots or shadows that persisted even after tonal adjustments converted the background of the page to white. Although "defects" are a very important part of the physical document, and something that we explicitly preserve in the facsimile version, they are undesirable in the printable version. This is because every step in processing the image removes visual information from the defect, abstracting it to the point where a viewer can no longer tell whether it was a stain, a crease, or part of the original page. Remnants of the defect may be falsely interpreted as faint text or schematic markings, diminishing the readability of the manual. This is particularly important for the 11x17" schematic pages, which are folded in half. As fold lines transform into ambiguous digital artifacts, it may began to appear that two separate components have a connection that does not exist in the physical circuit.
For these reasons, it is important to digitally remove defects wherever possible. (Note that the facsimile version can be requested if viewing the original condition of the page is necessary.)
There are a few methods for digitally removing stains, creases, and fold lines. In many cases, a more aggressive Levels adjustment will eliminate unwanted background elements. The defect can be selected using a Layer Mask, so that the Levels adjustment only affects the stain and does not reduce legibility of the useful information on the page. If the defect overlaps wanted elements, more intensive manual techniques can be used to eliminate it. For textual pages that will be converted to bitmap, ensuring that the defect is light enought to meet the threshold for white is sufficient to remove it from the final file.
In many cases, the light of the scanner itself can smooth out minor creases, improving legibility. For each 11x17" page, the exterior fold lines are less apparent than the interior fold lines. The shallow shadows on the exterior are smoothed away by the extremely bright scanner illumination. Putting a small amount of weight on the scanner often helps even out deeper creases, although that was a technique that we did not use for this manual.
General quality control
Because we really want this service manual to be usable, we did our best to check each file before compiling the PDF. For instance, anywhere we felt that bitmap conversion reduced the appearance of text, we left the page as a grayscale image. We really wanted the service manual to be attractive and fun to use.
We also manually cropped all of the pages, so that they would all have the same size and maintain the same scale. Because we processed the fragmented pages in a second batch, they ended up cropped at a slightly different size, but we managed to keep the dimensions within about 30 pixels of the original.
Creating the PDF
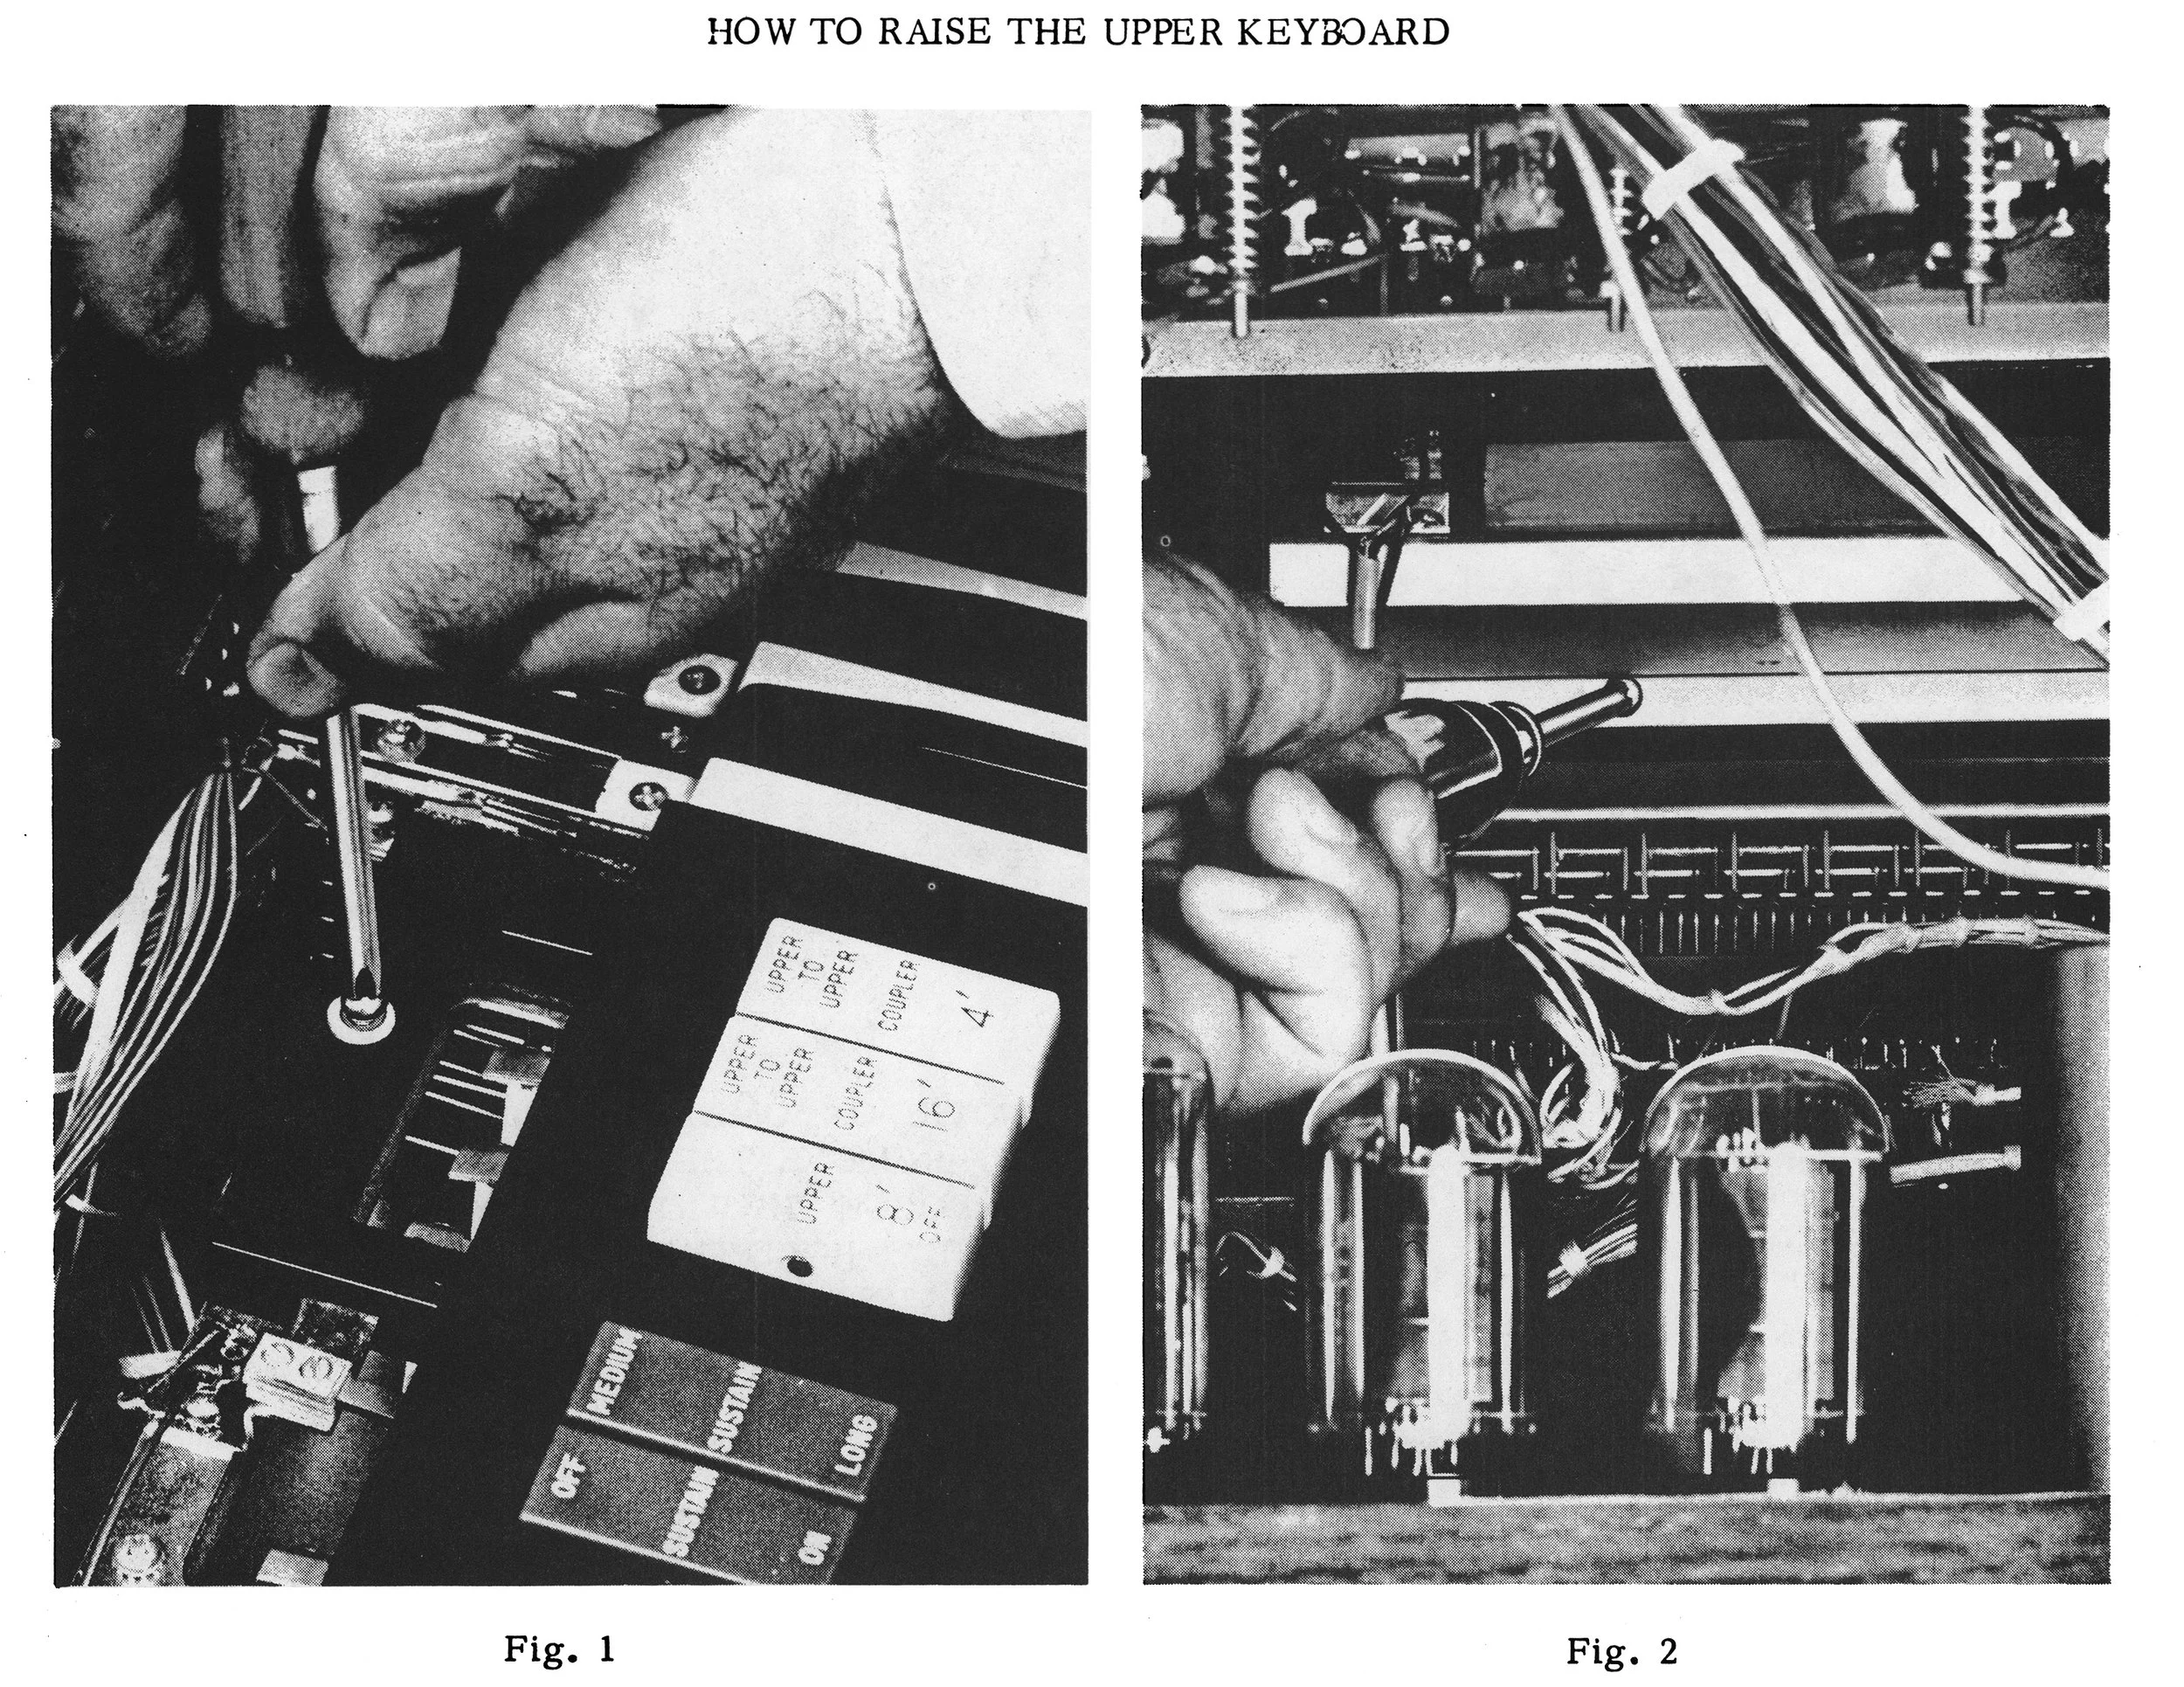
When we assembled our pages into Adobe Acrobat, the PDF was 23 MB—very close to our 20 MB target. Acrobat's "Reduce file size" option brought the file down to around 2 MB, but it produced a visible reduction in quality across all pages. Attempting various configurations in the "Advanced Optimization" feature (found under "Compress a File" in the "All tools" menu) actually increased the file size to about 27 MB. (It appears that our ZIP-compressed TIFF files were doing their job, and Acrobat's attempts to override them could only create bigger files instead of smaller ones.)
We ultimately switched to the "Optimize Scanned Pages" feature, which allowed us to convert individual pages to JPEG compression. This is a lossy form of compression, but it did not result in too much visible deterioration. We selected image-heavy grayscale pages (because they have the largest file size), but we avoided images that contained instructional information, such as those in the Maintenance Section. Compressing just a small fraction of images brought the file size down to 19.7 MB, allowing us to host it seamlessly on our website.
View the 4100 Service Manual
View related organs:
4100 | 4102 | 4150 | All vacuum tube organs